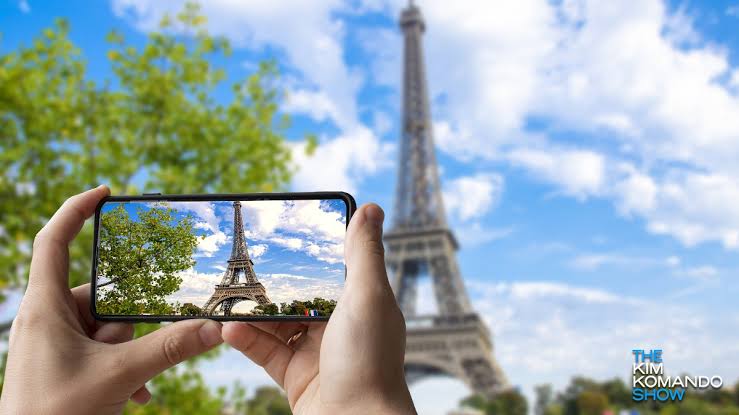
Smartphones have revolutionized photography, making it more accessible than ever. With powerful cameras in our pockets, we all have the ability to capture the world around us. This article will provide a deep dive into the art of Android photography, offering tips and tricks to help you master it.

1. Understanding Your Camera App
The first step to master Android photography is getting to know your camera app. Explore different modes and settings such as Portrait, Night, Pro, Panorama, and more. Each mode has a unique function that can dramatically change the outcome of your photos.
Lenovo Tab M10 HD TB-X306XA stock firmware
2. Harnessing the Power of the Rule of Thirds
The Rule of Thirds is a fundamental photography principle. Imagine a grid on your viewfinder divided into nine equal parts. The key idea is to place the main subject of your photo at the intersection of these lines. Most Android camera apps have a setting to overlay this grid on your screen.
3. Making the Most of Natural Light
Natural light is the best friend of photographers. The golden hours – shortly after sunrise or before sunset – offer the soft, warm light that can create stunning photos. Avoid harsh midday light, which can result in overexposed photos and unflattering shadows.
How is AI changing the way of writing in 2023
4. Optimizing Focus and Exposure
In most camera apps, you can tap on the subject on your screen to focus. Once focused, you can usually slide up or down to adjust the exposure, helping to brighten or darken the image before capture. This can be handy in tricky lighting situations.
5. Using HDR Mode
High Dynamic Range (HDR) mode can help balance the bright and dark areas of your photo, making it more visually appealing. While it’s beneficial in high-contrast situations, avoid using HDR for moving subjects or low-light conditions as it can result in blurry images.
6. Experimenting with Manual Mode
If your Android device has a manual or “Pro” mode, use it to gain more control over your photography. You can adjust settings like ISO (light sensitivity), shutter speed, focus, and white balance. It may seem daunting at first, but experimenting with these settings can significantly improve your photos.
Ziox Zelfie Official firmware flash file
7. Practicing Macro Photography
Macro photography – capturing close-up images of small subjects – can create fascinating photos. Try using the “tap to focus” feature to focus on your subject, and hold the phone steady to avoid blur.
8. Editing Your Photos
After capturing your photos, use editing apps like Snapseed, Lightroom, or VSCO to enhance your images. You can adjust brightness, contrast, saturation, and more. Remember, the goal is to enhance the photo’s best aspects, not to make it look overly processed.
How to Use Your Android Device for Fitness Tracking
9. Exploring the World of Mobile Photography Accessories
Accessories like tripods, clip-on lenses, or remote shutters can take your Android photography to another level. A tripod can stabilize your device for sharper images, while different lenses can provide various effects like wide-angle, macro, or fisheye.
Mastering Android photography is not about having the latest and greatest device; it’s about understanding how to make the most of the camera you have. With practice, patience, and these tips and tricks, you’ll be well on your way to capturing stunning images with your Android device. Happy shooting!


